
Here in the United States, Breyers are generally considered the gateway drug. They are the models that got most of us into the hobby. That's not the case everywhere. In much of the rest of the world, Schleichs are king. In today's guest post, New Zealand hobbyist, Emily Heckler, gives us an overview of customizing Schleichs. Thank you, Emily!
The Basic Customization of a Schleich
by Emily Heckler
When I first started customizing, I knew nothing, zip, zero, and all the tutorials I could find were for - repainting aside - Breyers. Breyers are pretty hard to come by here in New Zealand, so the thought of chopping into one... well, it was out of the question. What I do have easy access to are Schleichs, and so with a hack saw and air drying clay my customizing began. I have learnt a lot through trial and error, and this NaMoPaiMo I thought I would put together some tutorials and tips on the customization of Schleich and similar models. In all honesty, this is mainly aimed towards beginner customizers. I hope it is useful to someone.
First and foremost you must choose your victim. If it is your first project I don’t suggest a nice new model, websites like TradeMe and Ebay have plenty of cheap second hand models that make good first victims. I took most of the photos that accompany this tutorial in one session using a bunch of models at different progress points. All of them cost me less than five New Zealand dollars.
Schleichs are made from a very soft plastic which has pros and cons when it comes to customizing. Seam lines and other imperfections are very easy to remove. My main tool for this is an X-acto knife. Most of the time I use the back of the blade to lift seam lines without damaging the rest of the plastic. It is easy to make deep cuts from a small knife slip. This is one of the cons of working with soft plastic.
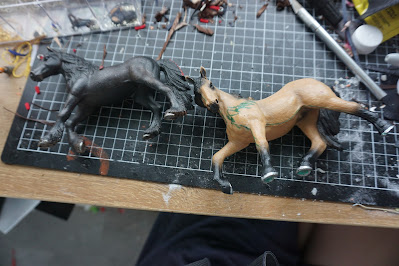 |
| Two of my current projects, the one on the right has a lot of sculpting flaws (highlighted in green). I bought him as a factory second from my local toy store. |
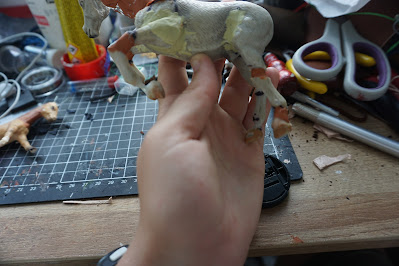 |
| This jumping pony has been an epoxy eater on my desk for a while, sometimes it is nice to have a long term project to smosh leftover epoxy onto. |
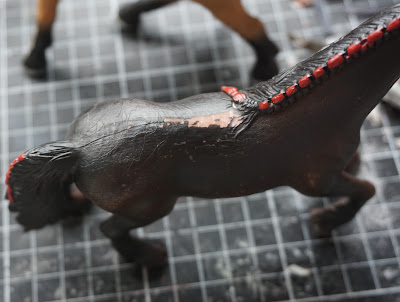 |
| Very obvious creases on the rump of this mare. |

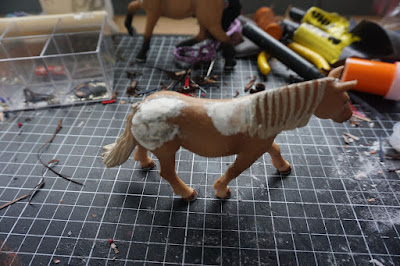

Thank you so much for this informative post!
ReplyDelete